We are not garlic experts by any means, but we wanted to share our current experience.
A neighbor gardener gave me a dried mature scape (the remnants of the garlic flower). The mature scape on this variety is like a little cluster of about 75, one quarter inch long miniature garlic cloves. Scape normally only develop on hardneck varieties of garlic, however occasionally an individual softneck plant will grow one. These can be planted to be increased into a future garlic crop. I just takes a year or three longer. From what we could research these little garlics are called either Bulbils or Bulblets. We are going to refer to them as bulbils. We are going to plant about a third of these bulbils in a potting soil six pack, 4 to a cell, for future transplanting. We will also plant the other 2/3 directly into garden soil.
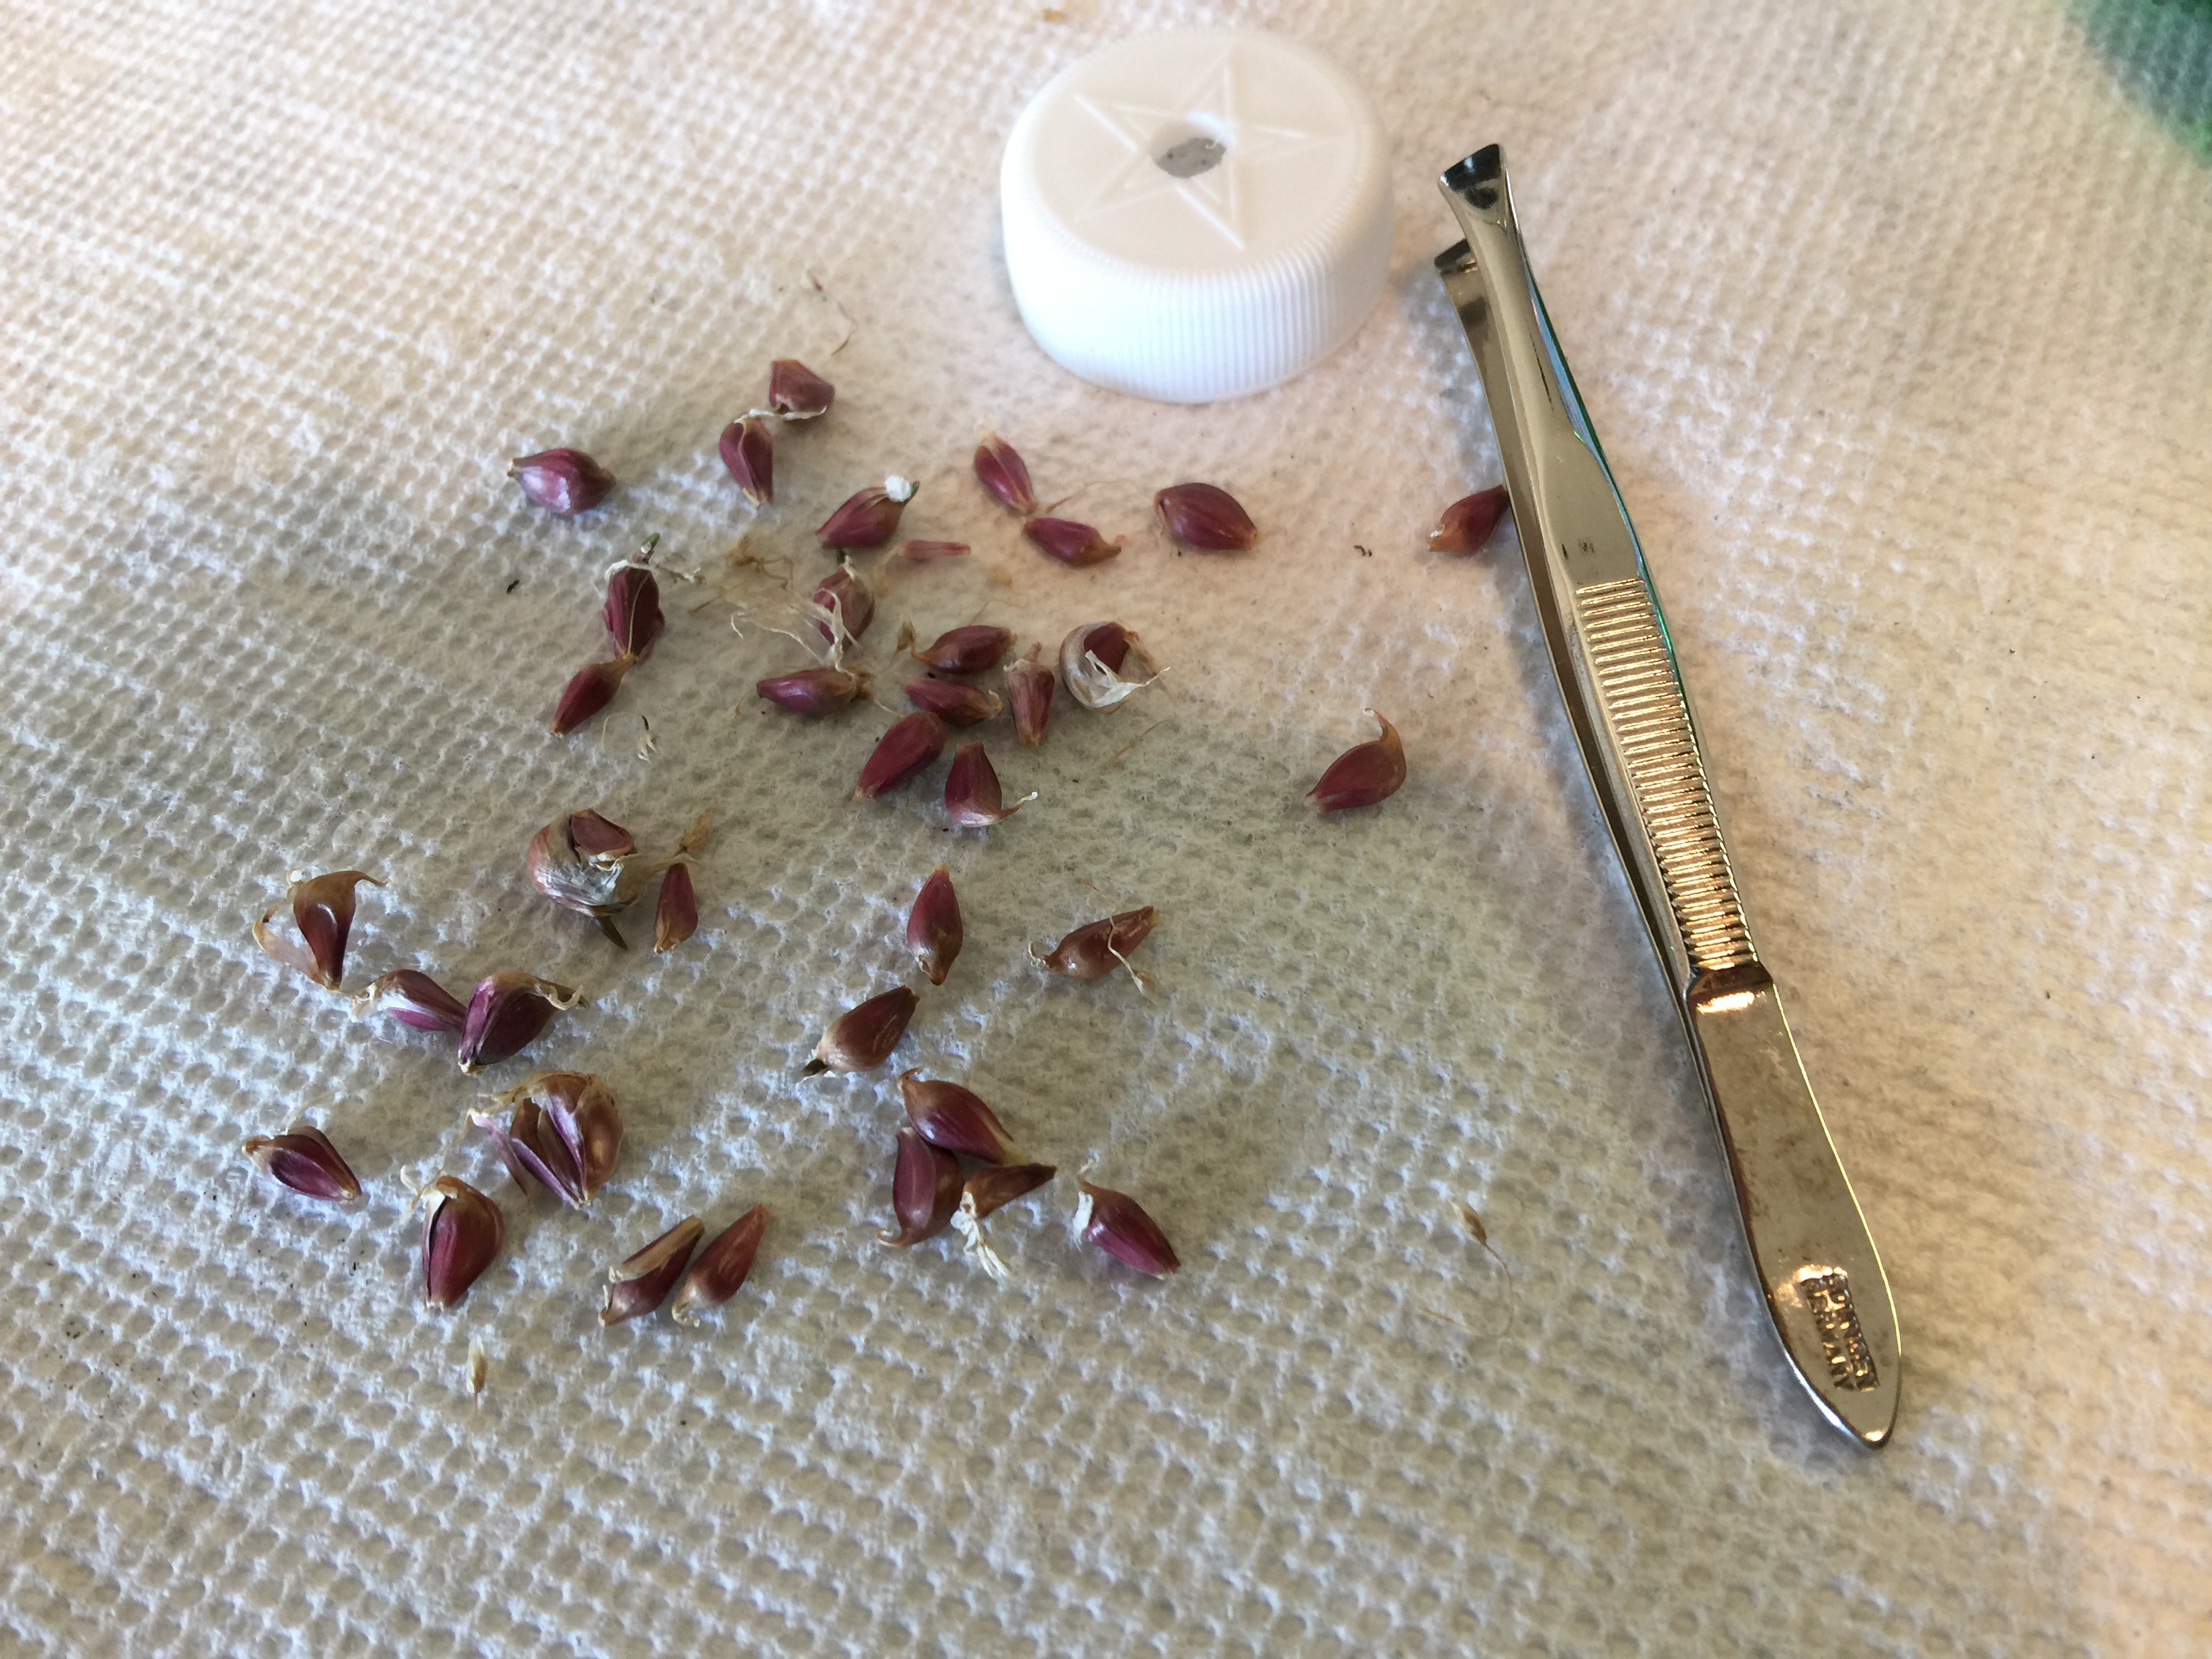
Garlic Bulbils (or bulblets)
Each bulbil has a rooting end which was attached to the scape and a shoot end which is the very pointed opposite end. When you plant these it probably doesn’t matter which way they are oriented since they are so small but we tried to orient them shoot end up and root end down. Why not save the plant a little energy and point it in the right direction. Who wants to do summersaults buried in the dark ground.
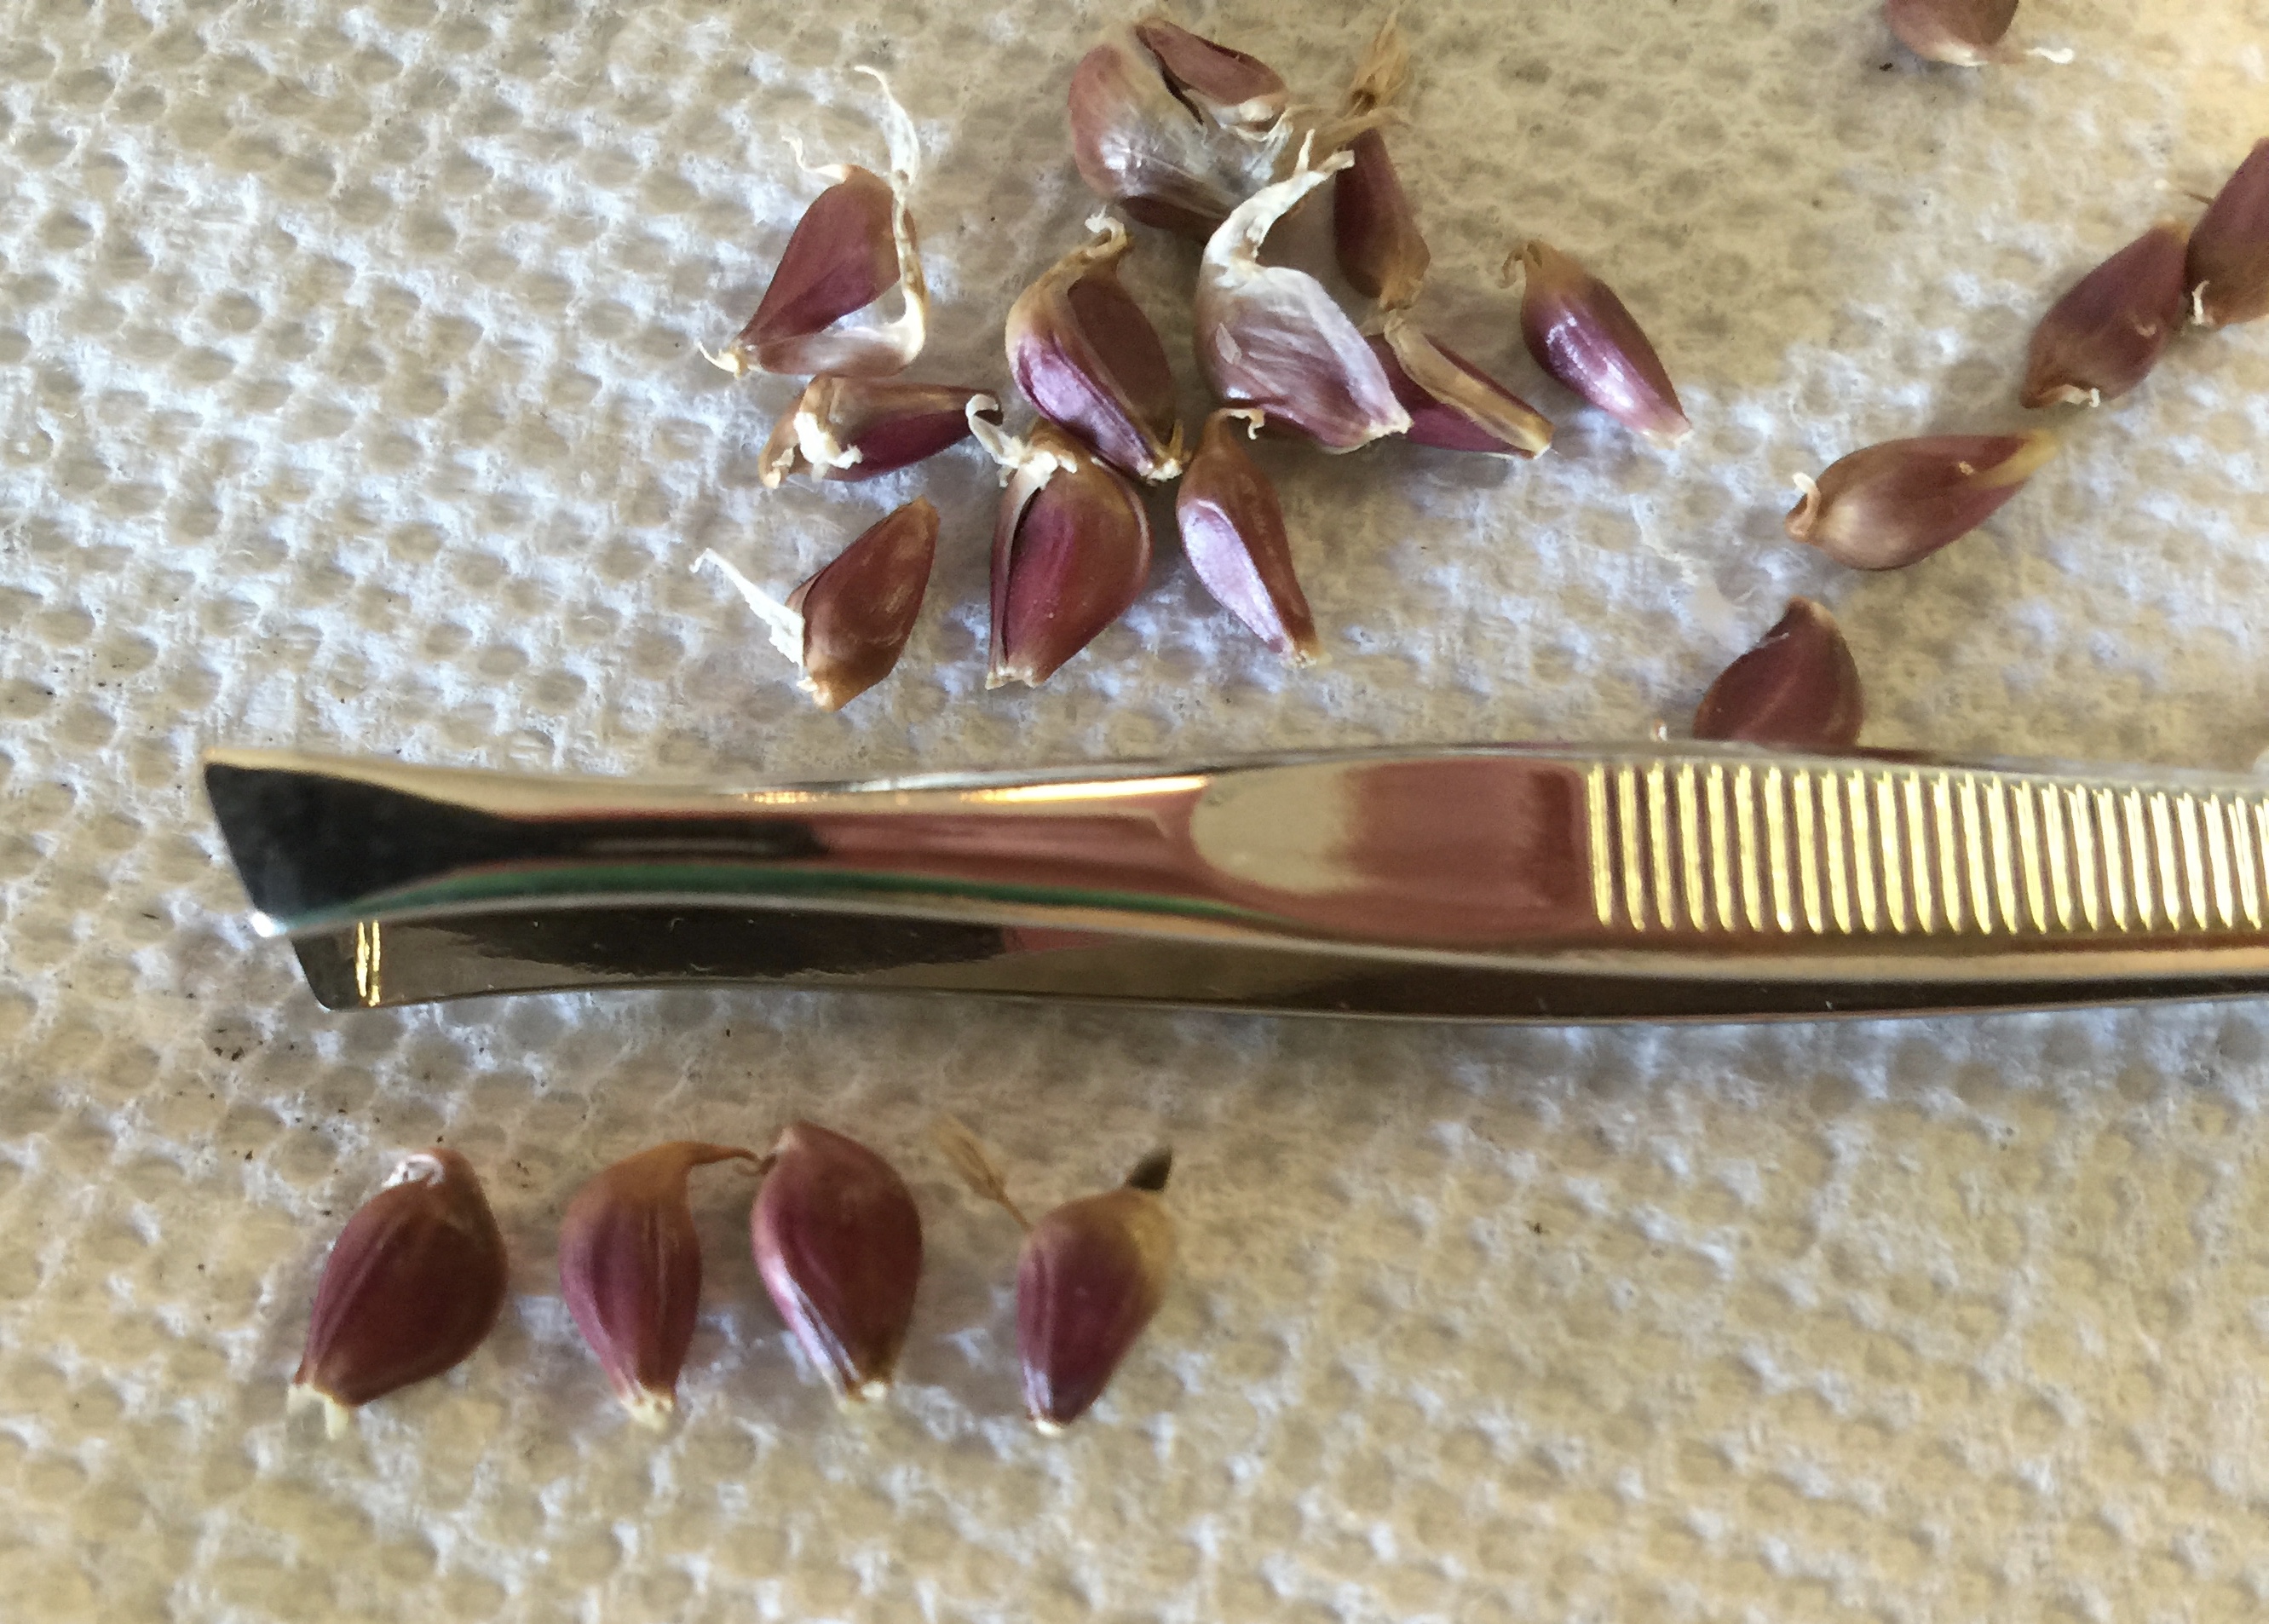
Bulbils (Bulblets) oriented like a large garlic bulb
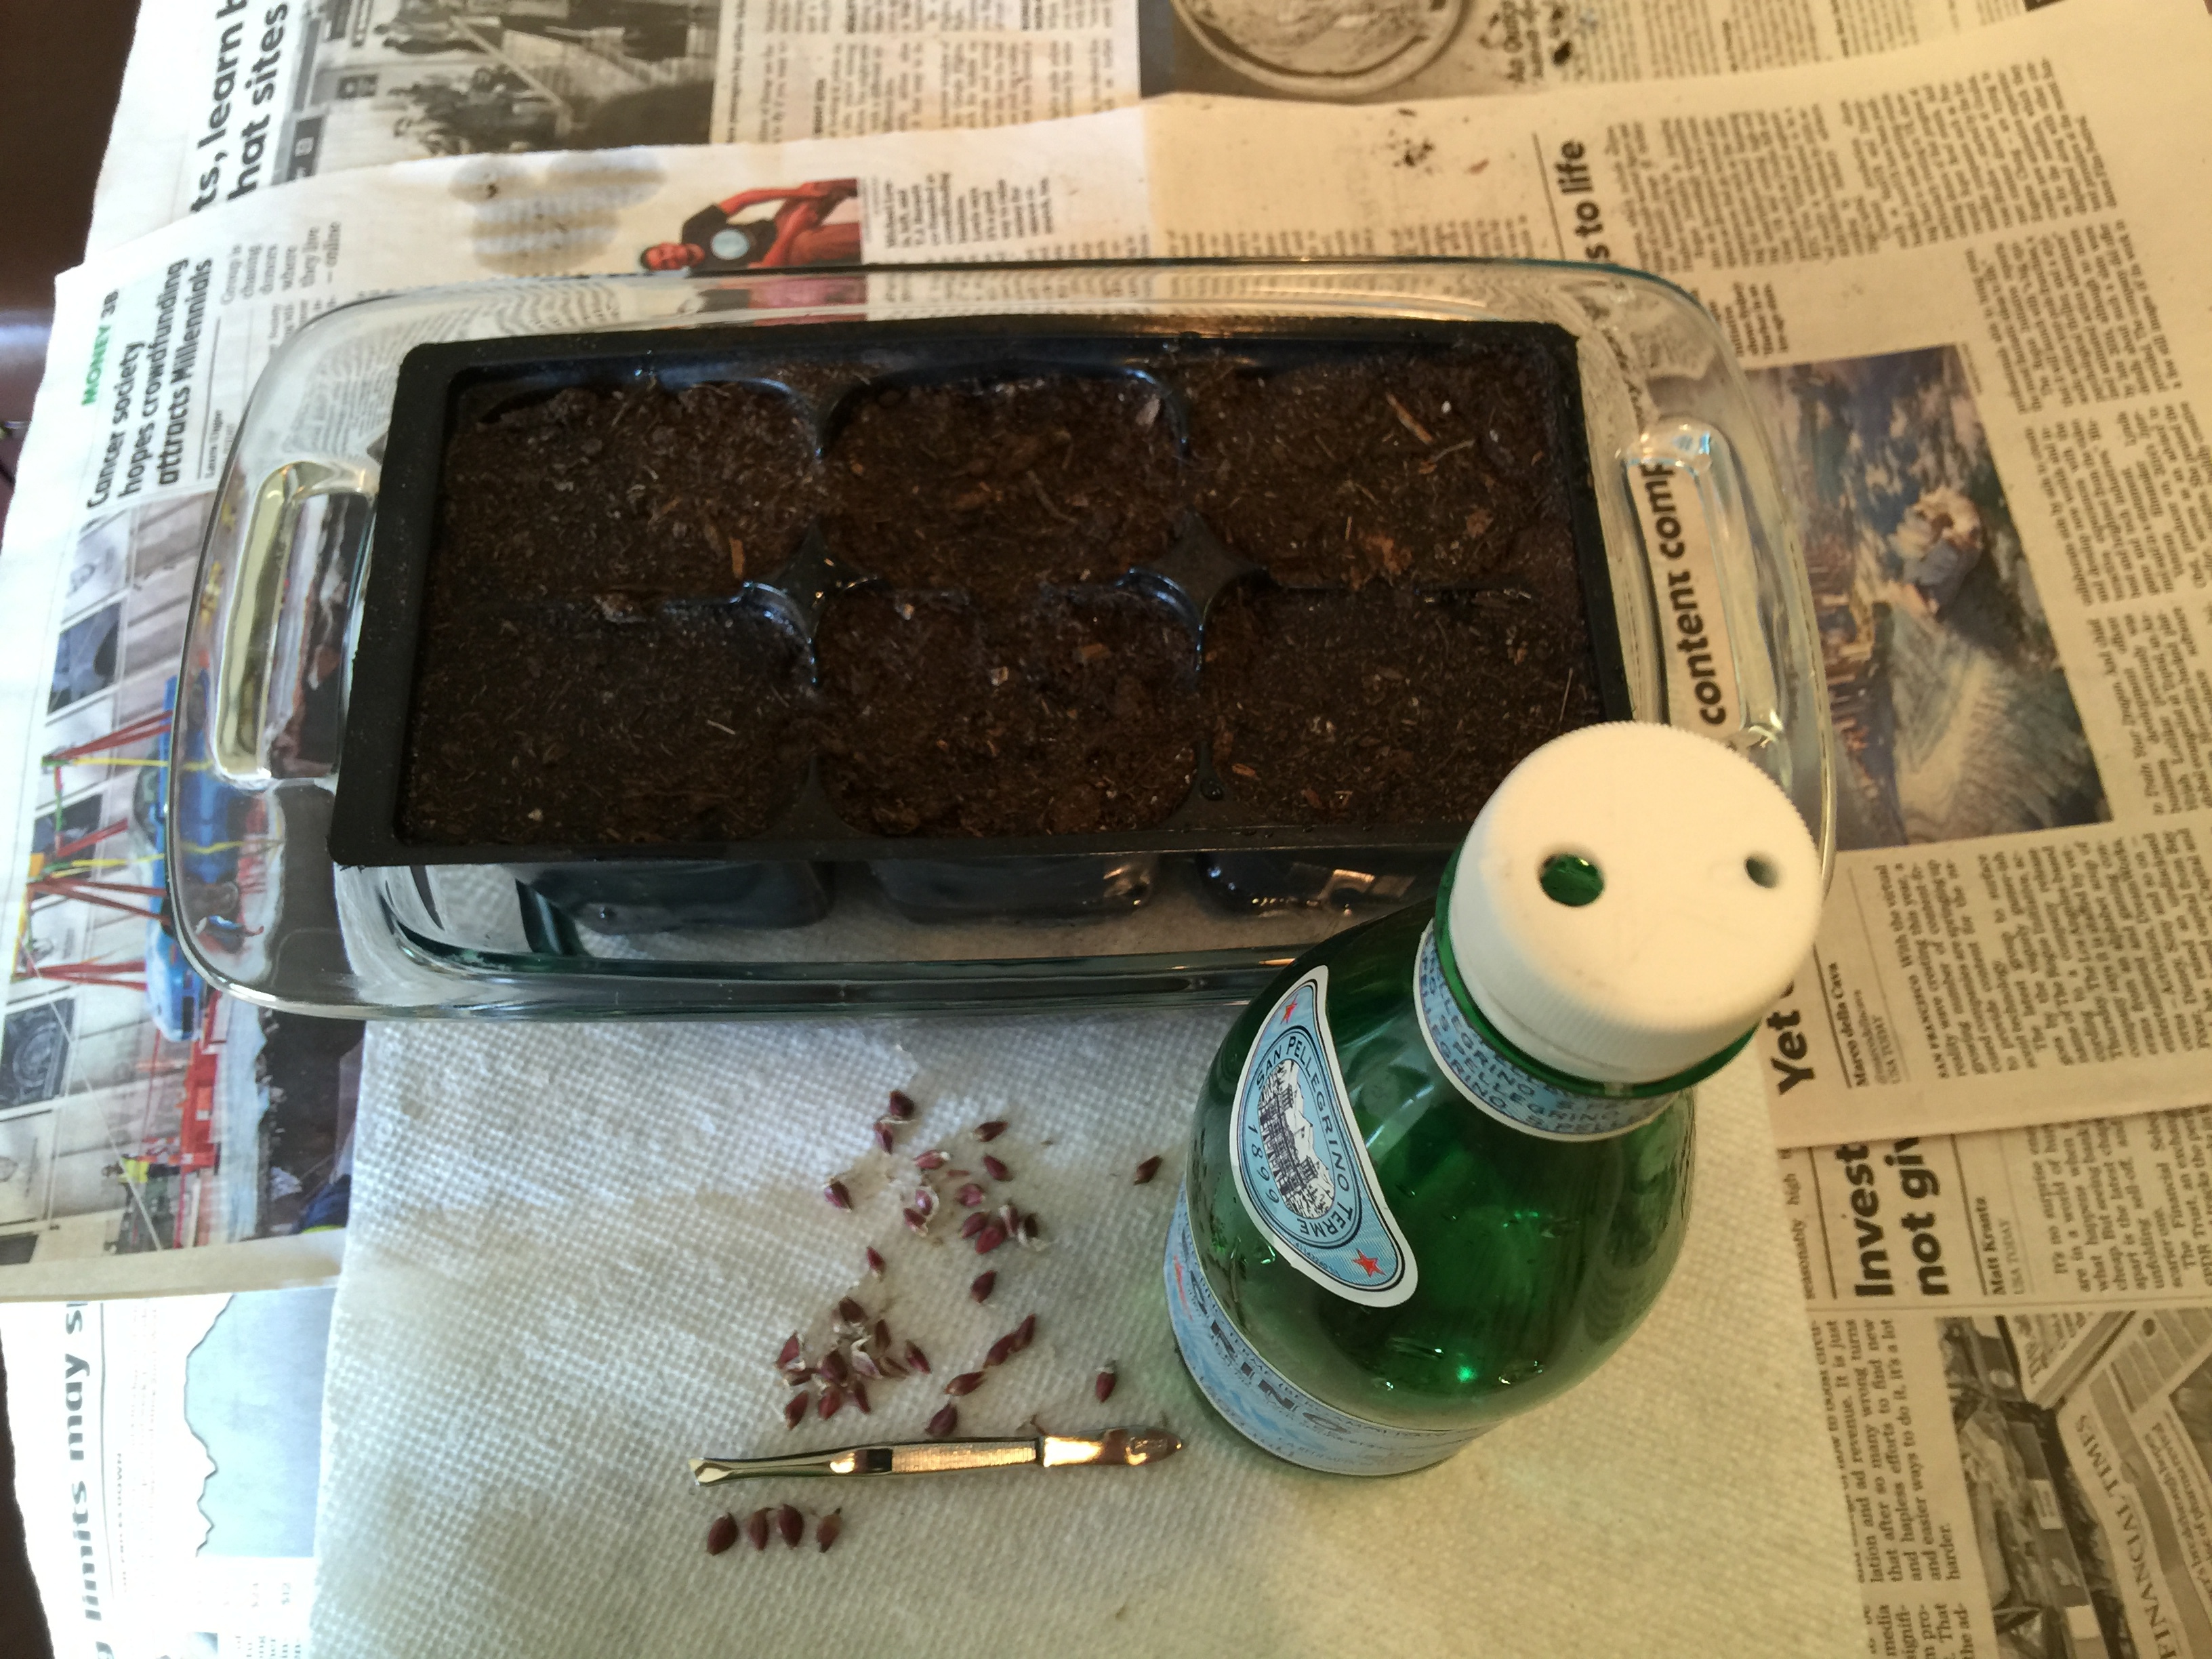
We like to use a pair of tweezers for planting seeds and now bulbils in the potting soil. Basically we use the pointed end to make a small depression in which to place the bulbil a little less than a half inch deep. This depth would vary by garlic variety as bulbil size varies by variety.

Bulbils (Bulblets) planted and ready to water
Watering:: You may have noticed the single hole in the bottle top lid our first photo. We attempted to make a dribbler watering bottle with this lid. It did not work because it did not have a vent hole to let the air enter. So we re-enginered the bottle top lid to have a large pouring hole and a smaller air vent hole. This worked extremely well for watering the potting soil in the six packs. We also added bottom water for the water to absorb through holes in the bottom the six-packs.
Two holes in the bottle cap for more controlled watering – the small hole lets in air!
The bulbil should grow in the first season into a small garlic bulb which may be 1/4″ to one inch in diameter, that is not divided into cloves. The second year you may grow full size bulbs but it may mature in to a cluster of small cloves. Those cloves can be planted and hopefully mature into full size bulbs in the third year. The bulbs and cloves need to be replanted each year in the proper spacing for the size of the bulb or clove. This is a great way to share your garlic with a neighbor gardener or increase your own crop size. Across varieties the whole process can take from 2 to 5 years.
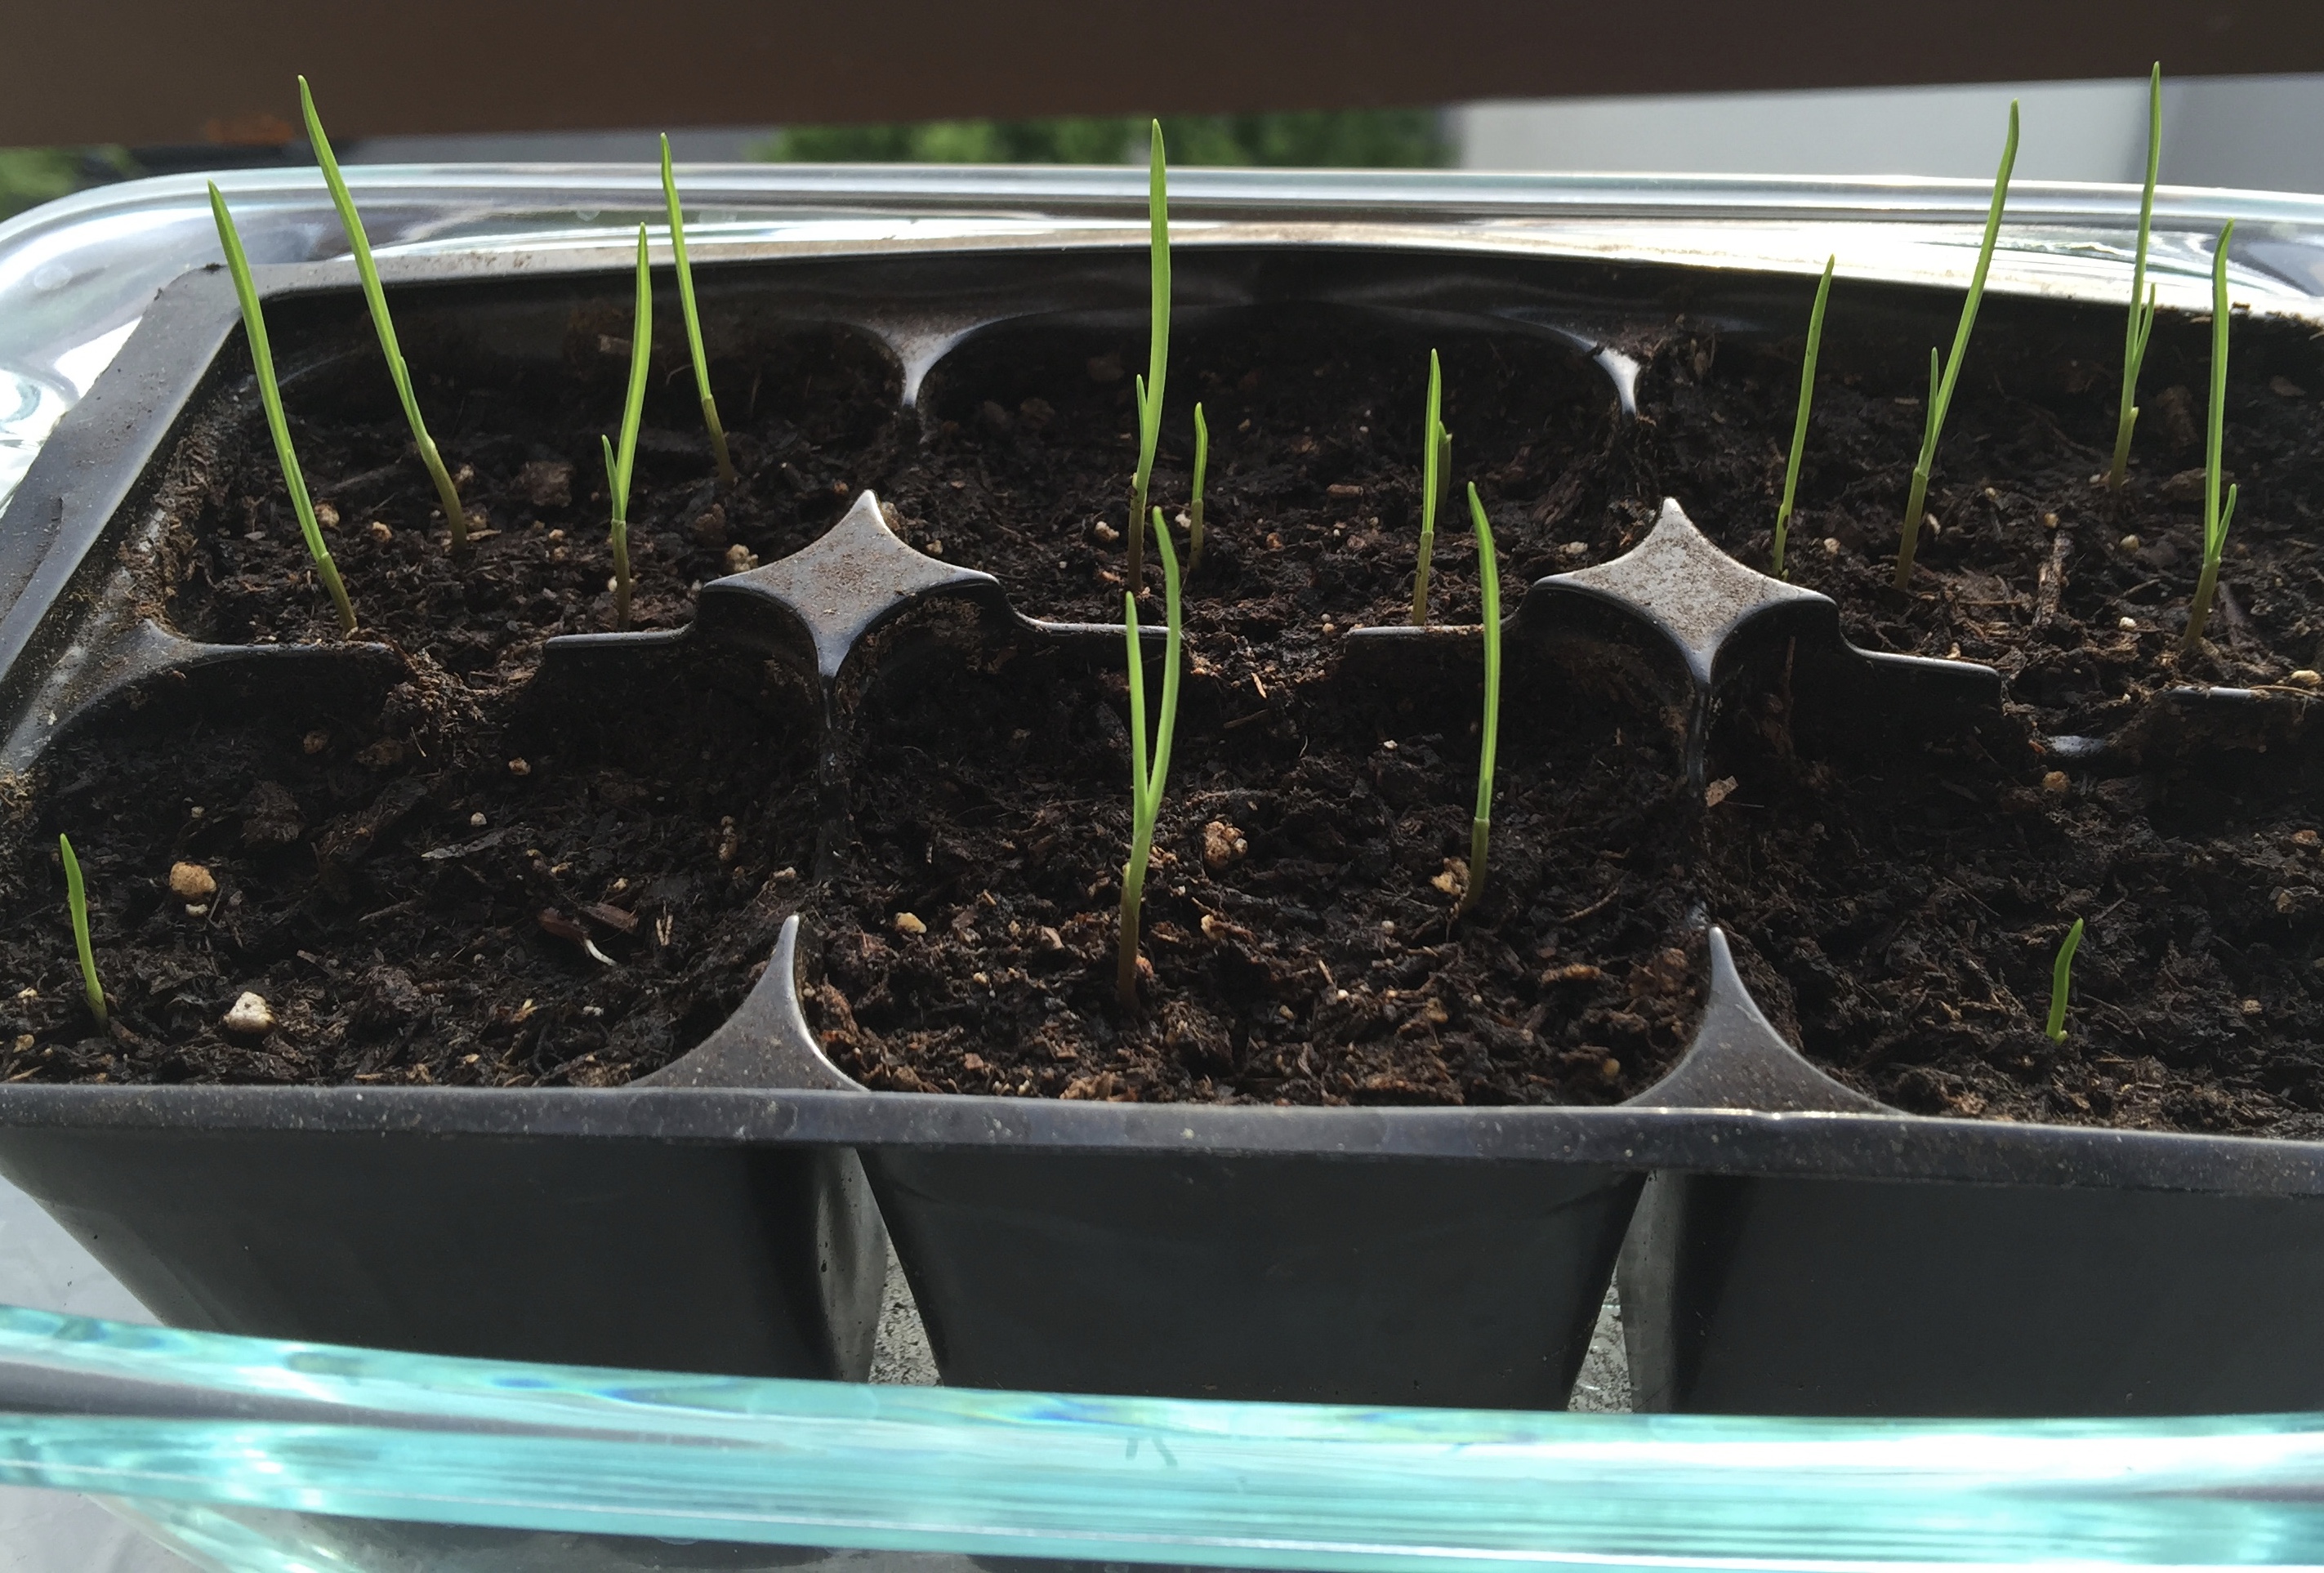
Germinating garlic bulbils